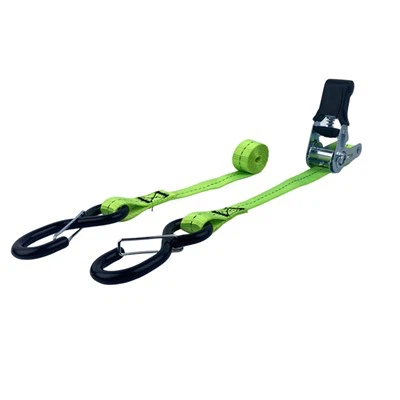
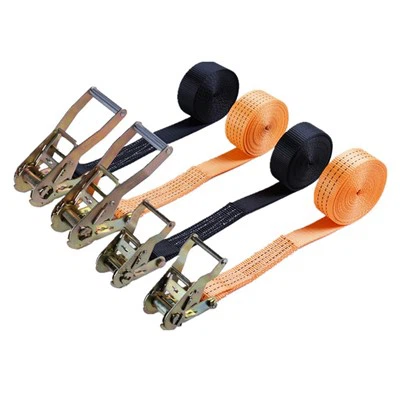
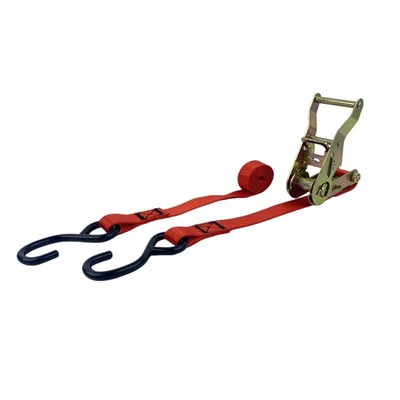
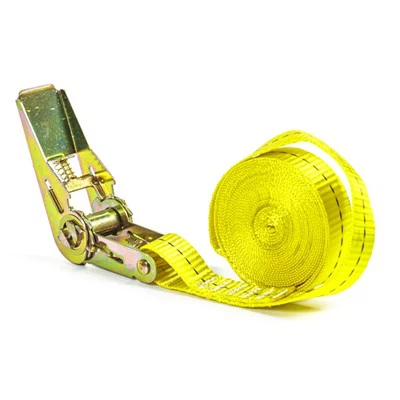
As a seasoned supplier of Load Tie Down Straps, I've encountered numerous situations where customers face issues with damaged straps. Repairing a damaged load tie - down strap not only extends its lifespan but also ensures the safety of your cargo during transportation. In this blog, I'll guide you through the process of repairing a damaged load tie - down strap, providing you with practical steps and tips.
Step 1: Inspection
The first and most crucial step is to thoroughly inspect the damaged strap. Look for signs of wear, cuts, fraying, or any other visible damage. Check the stitching, the hooks, and the ratchet mechanism (if it's a ratchet strap). Determine the severity of the damage. Minor wear and small cuts can often be repaired, while extensive damage may require replacement.
If you notice any broken or severely worn parts, such as a damaged hook or a malfunctioning Ratchet Strap Tensioner, it's important to address these issues separately. Sometimes, a simple replacement of the faulty part can solve the problem.
Step 2: Gathering Tools and Materials
Once you've assessed the damage, gather the necessary tools and materials for the repair. For basic repairs, you'll need a good - quality sewing kit with strong thread that matches the color and strength of the strap. A pair of sharp scissors or a utility knife will be useful for cutting any loose or damaged material. If the hook needs to be replaced, have a compatible replacement hook on hand.
For more complex repairs, such as fixing a damaged ratchet mechanism, you may need additional tools like pliers, screwdrivers, and a lubricant to ensure smooth operation.


Step 3: Repairing Small Cuts and Fraying
If the damage is limited to small cuts or fraying on the strap itself, start by trimming any loose or frayed threads with your scissors. Make sure to cut them cleanly to prevent further unraveling.
To repair a small cut, you can use a sewing technique. Thread your needle with the strong thread and start stitching along the cut. Use a back - and - forth motion, similar to a running stitch, to secure the two sides of the cut together. Make sure the stitches are tight and close together to provide maximum strength.
If the fraying is more extensive, you may want to apply a small amount of fabric glue along the frayed edge before sewing. This will help hold the fibers together and make the sewing process easier.
Step 4: Fixing Damaged Hooks
Damaged hooks can be a serious safety hazard. If the hook is bent, cracked, or has a broken latch, it should be replaced immediately. To remove the old hook, use pliers to loosen any rivets or bolts holding it in place. Carefully take out the old hook and clean the area on the strap where the hook was attached.
Install the new hook by aligning it with the holes on the strap and securing it with the appropriate rivets or bolts. Make sure the hook is firmly attached and moves freely without any restrictions.
Step 5: Repairing the Ratchet Mechanism
If your load tie - down strap has a ratchet mechanism and it's not working properly, start by cleaning it. Use a dry cloth to remove any dirt, debris, or rust from the ratchet. If there is significant rust, you can use a wire brush to gently scrub it away.
After cleaning, lubricate the moving parts of the ratchet with a suitable lubricant. This will help ensure smooth operation and prevent further wear. If a part of the ratchet is broken, such as a pawl or a gear, you'll need to replace it. Refer to the manufacturer's instructions or consult a professional if you're unsure how to disassemble and reassemble the ratchet.
Step 6: Testing the Repaired Strap
Once you've completed the repair, it's essential to test the strap to make sure it's in good working condition. Tension the strap using the ratchet mechanism (if applicable) and check for any signs of weakness or movement in the repaired areas. Hang a light weight from the strap (within its rated capacity) to simulate the load and ensure that it holds securely.
If you find any issues during the testing, go back and re - evaluate the repair. Make any necessary adjustments or additional repairs until the strap meets the safety standards.
Different Types of Load Tie - Down Straps and Their Repair Considerations
Auto Retractable Straps
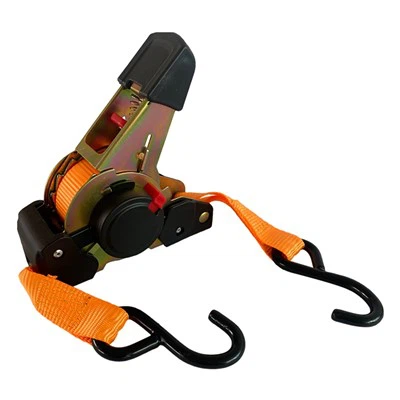
Auto Retractable Straps are convenient for quick and easy use. When repairing these straps, pay special attention to the retractable mechanism. If it's not retracting properly, check for any obstructions or damaged parts inside the housing. You may need to open the housing carefully and clean or replace the internal components.
Box Truck Cargo Straps
Box Truck Cargo Straps are often used for heavy - duty applications. These straps are typically wider and stronger, but they can also face more severe wear and tear. When repairing box truck cargo straps, ensure that all repairs are done with high - strength materials and techniques. Double - check the stitching and the attachment points to make sure they can withstand the heavy loads.
Conclusion
Repairing a damaged load tie - down strap is a skill that every user should have. By following these steps and taking the time to properly repair your straps, you can save money, extend the life of your equipment, and most importantly, ensure the safety of your cargo.
If you're in the market for high - quality load tie - down straps or need replacement parts for your repairs, we're here to help. Our wide range of products, including Auto Retractable Straps, Ratchet Strap Tensioner, and Box Truck Cargo Straps, are designed to meet the highest safety and quality standards. Contact us for more information on our products and to discuss your specific needs. We're ready to assist you in finding the best solutions for your load - securing requirements.
References
- "Load Tie - Down Strap Safety Manual" - Industry standard safety guide for load tie - down straps.
- Manufacturer's instructions for various load tie - down strap models.
- Professional repair guides for cargo handling equipment.