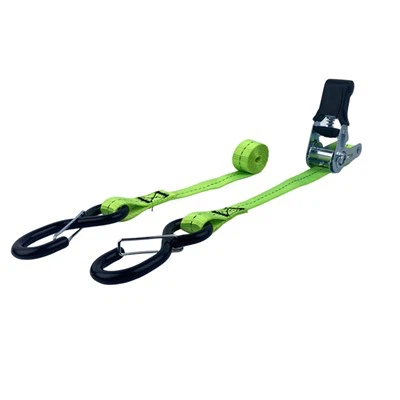
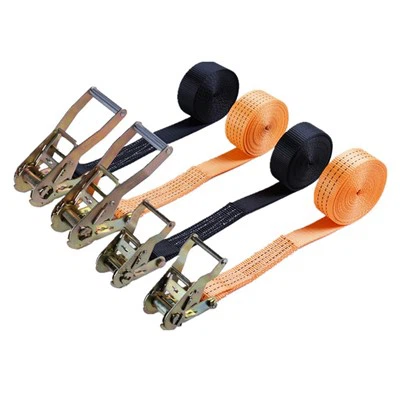
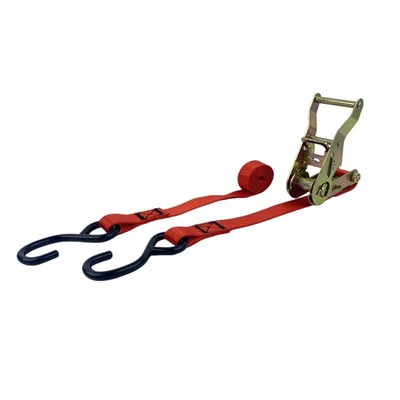
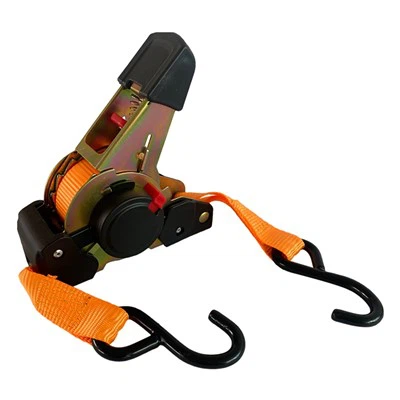
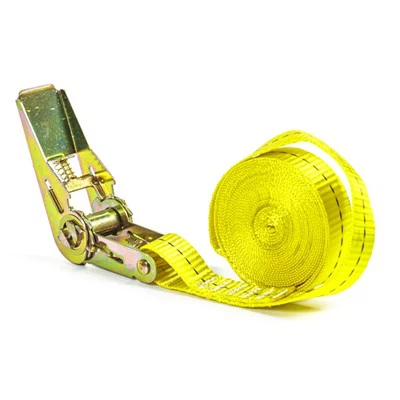
As a supplier of 5000kg ratchet straps, I understand the importance of these tools in various industries, from automotive to heavy - duty trucking. Ratchet straps are reliable workhorses, but like any equipment, they can get torn over time due to heavy use, abrasion, or accidental damage. In this blog, I'll share a step - by - step guide on how to repair a torn 5000kg ratchet strap, ensuring it can continue to serve you safely and effectively.
Step 1: Assess the Damage
The first and most crucial step is to thoroughly assess the damage to the ratchet strap. Take a close look at the tear. Determine its length, width, and location on the strap. If the tear is near the edges or in the middle, and if it's a clean cut or a frayed tear, these factors will influence the repair method.
A small, clean - cut tear might be easier to repair than a long, frayed one. If the tear is close to the ratchet mechanism or the hooks, extra caution is needed as these are critical parts of the strap. If the damage is extensive, such as multiple large tears or significant fraying, it might be more prudent to replace the strap rather than attempting a repair, as the structural integrity could be severely compromised.


Step 2: Gather the Necessary Tools and Materials
Once you've assessed the damage and decided to proceed with the repair, gather the following tools and materials:
- Heavy - duty sewing machine: A regular sewing machine may not be sufficient for a 5000kg ratchet strap. Look for a heavy - duty industrial sewing machine that can handle thick, strong webbing.
- Nylon thread: Nylon thread is strong and durable, making it ideal for repairing ratchet straps. Choose a thread with a high tensile strength.
- Scissors or a utility knife: To trim any frayed edges and cut the new webbing if needed.
- Measuring tape: To ensure accurate measurements when cutting and aligning the webbing.
- Clamps or clips: These will help hold the torn parts together during the sewing process.
- Replacement webbing (optional): If the tear is large, you may need to cut a piece of replacement webbing of the same width and length as the damaged section.
Step 3: Prepare the Strap
Before starting the repair, clean the torn area of the strap. Remove any dirt, debris, or loose fibers. If there are any sharp edges, smooth them out with a file or sandpaper to prevent further fraying.
If the tear is frayed, use the scissors or utility knife to trim the frayed edges. Make sure the edges are straight and clean. If you're using replacement webbing, cut it to the appropriate length and width, leaving a little extra on each end for sewing.
Step 4: Align the Torn Parts
Use the clamps or clips to hold the torn parts of the strap together. Make sure the edges are aligned perfectly. If you're using replacement webbing, place it between the torn ends and align it with the existing strap.
Check that the ratchet mechanism and hooks are not in the way and that the strap lies flat. This will ensure a straight and strong repair.
Step 5: Sew the Tear
Thread the heavy - duty sewing machine with the nylon thread. Start sewing at one end of the tear, using a straight stitch. Sew slowly and steadily, applying even pressure on the pedal to ensure a consistent stitch length.
For a small tear, you may only need a single row of stitches. However, for a larger tear or for added strength, you can sew multiple rows of stitches parallel to each other. Make sure the stitches are close together to prevent the tear from reopening.
When you reach the end of the tear, backstitch a few times to secure the thread. Trim any excess thread.
Step 6: Reinforce the Repair
To further strengthen the repair, you can add a patch of webbing over the sewn area. Cut a piece of webbing slightly larger than the repaired area and place it over the stitches. Sew the patch to the strap using the same method as before, making sure to sew around the edges of the patch.
Step 7: Test the Repaired Strap
Once the repair is complete, it's essential to test the strap. Before using it to secure a 5000kg load, perform a simple tension test. Apply a moderate amount of tension to the strap and check for any signs of weakness or the tear reopening.
If the strap passes the test, you can use it with confidence. However, always keep an eye on the repaired area during subsequent use to ensure its continued integrity.
Importance of Regular Inspections
Even after a successful repair, regular inspections of your ratchet straps are crucial. Check for signs of wear and tear, such as fraying, cuts, or rust on the ratchet mechanism and hooks. By catching potential problems early, you can prevent more serious damage and ensure the safety of your loads.
Our Product Range
As a 5000kg ratchet strap supplier, we offer a wide range of high - quality ratchet straps for various applications. Our Automotive Tie Down Straps are designed specifically for securing vehicles during transport. They are made from durable materials and are built to withstand the rigors of the road.
Our Vehicle Ratchet Straps are suitable for a variety of vehicles, from cars to trucks. They provide a reliable and secure way to keep your vehicles in place.
For heavy - duty trucking applications, our Truck Ratchet Tie Down Straps are the perfect choice. They are designed to handle the large loads and rough conditions that trucks often encounter.
Contact Us for Procurement
If you're in the market for high - quality 5000kg ratchet straps or have any questions about our products, we'd love to hear from you. Our team of experts is ready to assist you in finding the right ratchet straps for your specific needs. Whether you're a small business or a large - scale operation, we can provide the products and support you require.
References
- "Industrial Webbing Handbook" - A comprehensive guide on the properties and uses of industrial webbing, which includes information relevant to ratchet strap repair.
- "Heavy - Duty Equipment Maintenance Manual" - This manual provides general guidelines on maintaining and repairing heavy - duty equipment, including ratchet straps.