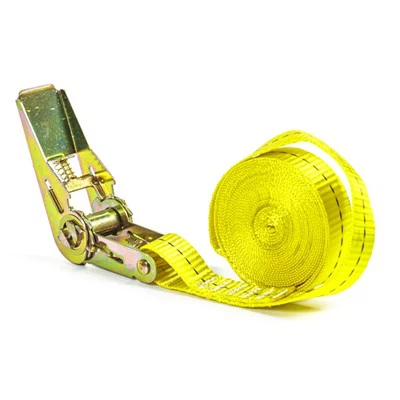
Replacing a damaged tractor tie down strap is a crucial maintenance task that ensures the safety and stability of your tractor during transportation. As a trusted supplier of Tractor Tie Down Straps, I understand the importance of having reliable straps and the know - how to replace them properly. In this blog post, I'll guide you through the process of replacing a damaged tractor tie down strap step by step.
Why Replace Damaged Tractor Tie Down Straps?
Before delving into the replacement process, it's essential to understand why replacing damaged straps is so important. Tractor tie down straps are subjected to a great deal of stress and strain during use. Over time, factors such as friction, UV exposure, and general wear and tear can cause the straps to weaken or become damaged. A damaged strap may not be able to hold the tractor securely, which can lead to dangerous situations during transportation. For example, a loose or broken strap could allow the tractor to shift, potentially causing an accident on the road. Therefore, regular inspection and timely replacement of damaged straps are vital for safety.
Tools and Materials You'll Need
To replace a damaged tractor tie down strap, you'll need the following tools and materials:
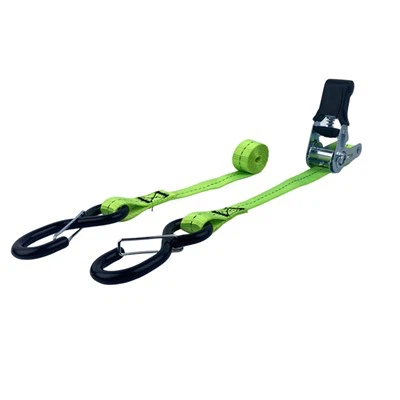
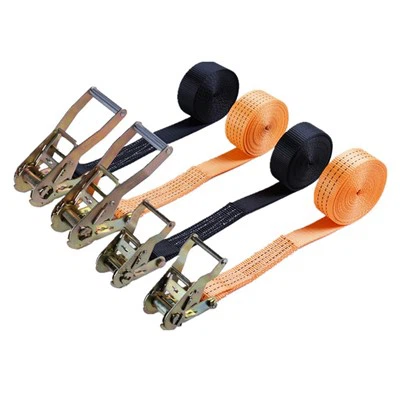
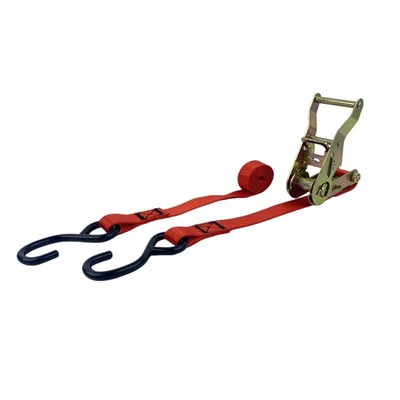
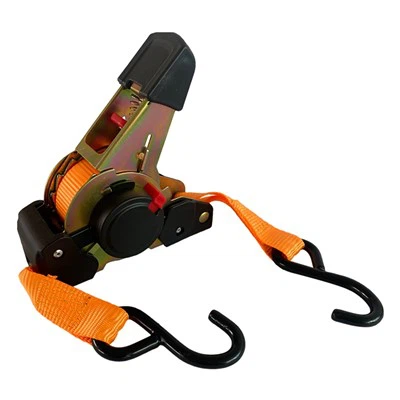
- A new tractor tie down strap: You can choose from various types of straps depending on your specific needs. For example, Truck Ratchet Tie Down Straps are a popular choice as they offer a high level of adjustability and strength. Short Tie Down Straps with Hooks are also useful for securing smaller parts or in tight spaces.
- A pair of sharp scissors or a utility knife: To cut the old strap if necessary.
- A socket wrench or a spanner: To remove any bolts or nuts that are holding the old strap in place.
- Safety gloves: To protect your hands during the replacement process.
Step - by - Step Guide to Replacing a Damaged Tractor Tie Down Strap
Step 1: Inspect the Tractor and the Straps
Before starting the replacement, park the tractor on a flat and stable surface. Engage the parking brake and turn off the engine. Carefully inspect the tractor and the existing tie down straps. Look for signs of damage such as cuts, fraying, or excessive wear. Identify the damaged strap that needs to be replaced.
Step 2: Release the Tension on the Old Strap
If the strap is tightened using a ratchet mechanism, loosen the ratchet to release the tension on the strap. This will make it easier to remove the strap from the tractor and the tie - down points.
Step 3: Remove the Old Strap
Depending on how the strap is attached, you may need to use a socket wrench or a spanner to remove the bolts or nuts that are holding the strap in place. In some cases, the strap may be secured with hooks or buckles. Simply unhook or unbuckle the strap to remove it. If the strap is stuck or difficult to remove, you can use a pair of sharp scissors or a utility knife to cut the strap, but be careful not to damage the tractor or other components.
Step 4: Choose the Right New Strap
Select a new tractor tie down strap that is appropriate for your tractor's size and weight. Consider the length, width, and strength of the strap. Make sure the new strap has the right type of hooks or attachments to fit your tractor and the tie - down points. As mentioned earlier, Truck Ratchet Tie Down Straps are a great option for many applications.


Step 5: Install the New Strap
Attach the new strap to the tie - down points on the tractor. If the strap has hooks, hook them securely onto the appropriate points. If it uses bolts or nuts, align the holes in the strap with the holes on the tractor and tighten the bolts or nuts using a socket wrench or a spanner. Make sure the strap is installed correctly and there are no twists or kinks in the strap.
Step 6: Tighten the New Strap
If the new strap has a ratchet mechanism, use it to tighten the strap. Pull the strap tight to ensure a secure fit. Make sure the tractor is held firmly in place and there is no slack in the strap. However, be careful not to over - tighten the strap as this could damage the tractor or the strap itself.
Step 7: Inspect the Installation
Once the new strap is installed and tightened, inspect the installation again. Check that the strap is properly attached and there are no signs of looseness or instability. Make sure all the hooks, bolts, and nuts are secure.
Tips for Maintaining Tractor Tie Down Straps
- Regularly inspect the straps for signs of damage. Check them before and after each use, as well as during routine maintenance.
- Clean the straps regularly to remove dirt, debris, and chemicals that can cause damage. You can use a mild soap and water solution to clean the straps.
- Store the straps in a cool, dry place away from direct sunlight. UV exposure can weaken the straps over time.
- Avoid overloading the straps. Make sure the straps are rated for the weight of the tractor and any additional equipment being transported.
Conclusion
Replacing a damaged tractor tie down strap is a relatively simple process that can be done with the right tools and a little bit of know - how. By following the steps outlined in this blog post, you can ensure that your tractor is safely secured during transportation. As a supplier of high - quality Tractor Tie Down Straps, we are committed to providing you with the best products and support. If you have any questions about our products or need help with strap selection or replacement, please feel free to contact us for procurement and further discussions.
References
- "Tractor Transportation Safety Guidelines", Department of Transportation, [Year of Publication]
- "Tie Down Strap Maintenance and Inspection", Industry Standard Manual, [Year of Publication]