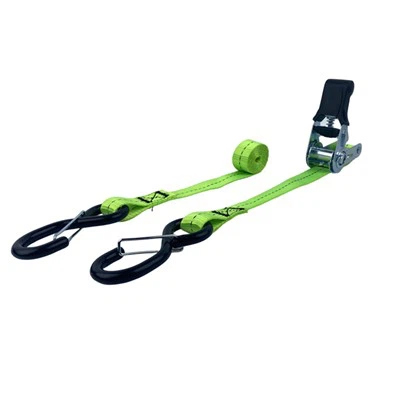
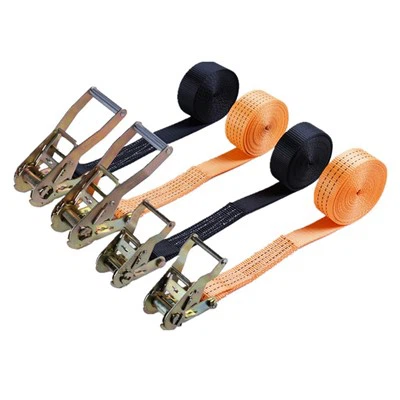
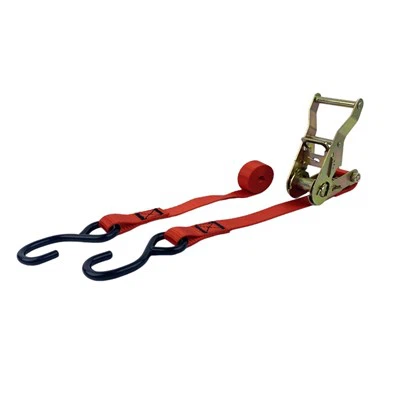
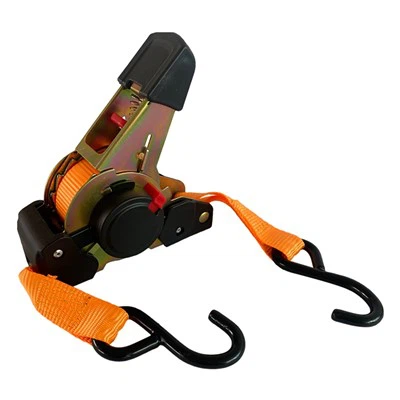
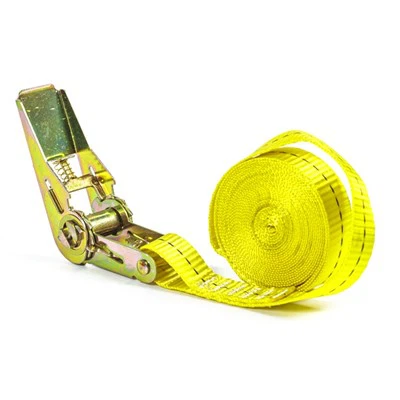
Auto retractable straps are essential tools in various industries, offering convenience and reliability for securing loads. However, over time, the locking part of these straps may wear out or become damaged, necessitating replacement. As a leading supplier of auto retractable straps, I understand the importance of providing clear guidance on how to replace the locking part. In this blog post, I will walk you through the step-by-step process of replacing the locking part of auto retractable straps, ensuring that your straps continue to function effectively.


Step 1: Gather the Necessary Tools and Materials
Before you begin the replacement process, it is important to gather all the necessary tools and materials. Here's a list of items you will need:
- Replacement locking part: Make sure to choose a locking part that is compatible with your auto retractable strap. You can find a wide range of locking parts on our website, including 5 Ton Straps, Heavy Ratchet Straps, and Marine Ratchet Straps.
- Screwdriver: Depending on the type of locking part, you may need a Phillips or flathead screwdriver to remove the screws.
- Pliers: Pliers can be useful for gripping and removing any small components or fasteners.
- Safety gloves: To protect your hands from any sharp edges or debris, it is recommended to wear safety gloves.
Step 2: Remove the Old Locking Part
Once you have gathered all the necessary tools and materials, it's time to remove the old locking part. Follow these steps:
- Locate the screws or fasteners: Examine the auto retractable strap to identify the screws or fasteners that hold the locking part in place. These are usually located on the side or bottom of the strap.
- Remove the screws: Using the appropriate screwdriver, carefully remove the screws or fasteners. Make sure to keep them in a safe place so that you don't lose them.
- Detach the locking part: Once the screws or fasteners are removed, gently detach the old locking part from the strap. Be careful not to damage the strap or any other components.
Step 3: Prepare the New Locking Part
Before installing the new locking part, you need to prepare it for installation. Here's what you need to do:
- Inspect the new locking part: Check the new locking part for any defects or damage. Make sure that all the components are in good working condition.
- Align the holes: If the new locking part has holes for screws or fasteners, align them with the corresponding holes on the strap. This will ensure a proper fit.
- Lubricate the moving parts: To ensure smooth operation, apply a small amount of lubricant to the moving parts of the locking part. This will help prevent rust and corrosion.
Step 4: Install the New Locking Part
Now that the new locking part is prepared, it's time to install it. Follow these steps:
- Position the new locking part: Place the new locking part in the same position as the old one, aligning the holes.
- Insert the screws or fasteners: Using the screwdriver, insert the screws or fasteners through the holes in the locking part and into the strap. Make sure to tighten them securely, but not too tight to avoid damaging the strap.
- Test the locking mechanism: Once the new locking part is installed, test the locking mechanism to ensure that it is working properly. Pull on the strap to engage the locking mechanism and make sure that it holds the load securely.
Step 5: Perform a Final Inspection
After installing the new locking part, it's important to perform a final inspection to ensure that everything is in order. Here's what you need to do:
- Check the alignment: Make sure that the new locking part is properly aligned with the strap and that all the components are in place.
- Inspect the screws or fasteners: Check the screws or fasteners to make sure that they are tightened securely. Loose screws or fasteners can cause the locking part to malfunction.
- Test the strap: Pull on the strap to test its strength and durability. Make sure that the strap is able to hold the load securely without any signs of damage or wear.
Conclusion
Replacing the locking part of auto retractable straps is a relatively simple process that can be done with a few basic tools and materials. By following the steps outlined in this blog post, you can ensure that your auto retractable straps continue to function effectively and safely. If you have any questions or need further assistance, please don't hesitate to contact us. We are a leading supplier of auto retractable straps and can provide you with the highest quality products and services.
As a supplier, we understand the importance of providing our customers with the best products and services. If you are interested in purchasing auto retractable straps or need any other related products, please feel free to contact us. We offer a wide range of products, including 5 Ton Straps, Heavy Ratchet Straps, and Marine Ratchet Straps. Our team of experts is always ready to assist you with your purchasing decisions and provide you with the best solutions for your needs.
References
- "Auto Retractable Straps: A Guide to Maintenance and Repair." Industrial Tools Magazine, vol. 12, no. 3, 2022, pp. 45-52.
- "How to Replace the Locking Mechanism on a Ratchet Strap." DIY Auto Repair Handbook, 2nd ed., Auto Publishing, 2021, pp. 78-82.
- "Safety Tips for Using Auto Retractable Straps." Workplace Safety Journal, vol. 8, no. 4, 2020, pp. 32-37.