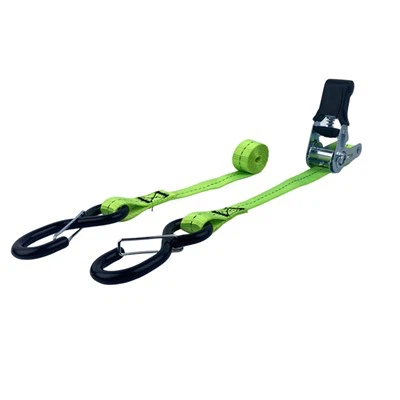
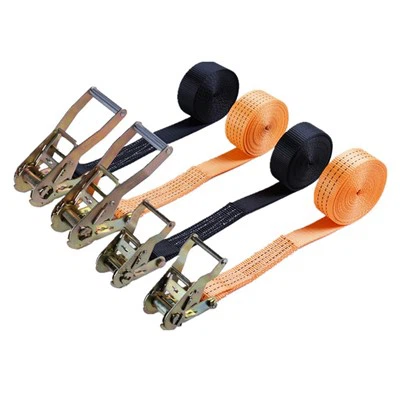
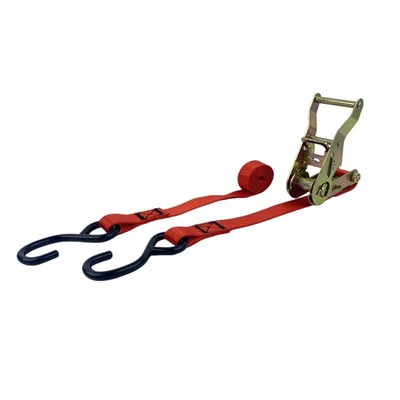
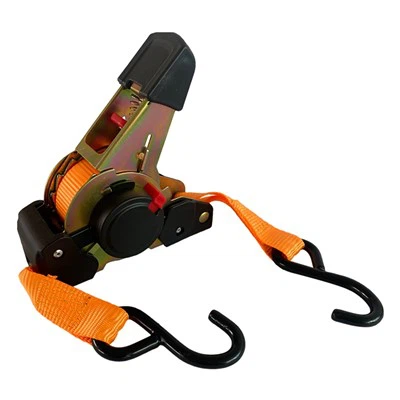
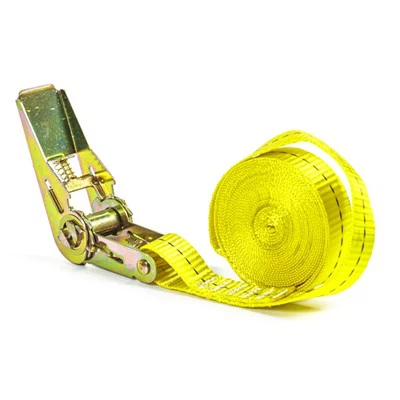
Hey there! As a supplier of auto retractable straps, I'm stoked to share with you how to install these nifty tools. Auto retractable straps are super handy for securing all sorts of stuff, whether you're hauling gear for a weekend adventure or moving heavy equipment for work.
First things first, let's talk about what you'll need before you start the installation process. You'll obviously need the auto retractable straps themselves. We offer a wide range of options, like Extra Long Ratchet Straps for those extra-large loads, Short Tie Down Straps with Hooks for more compact items, and Professional Ratchet Straps that are built to last.
In addition to the straps, you'll need a few basic tools. A drill is essential if you're going to be mounting the straps to a surface. Make sure you have the right drill bits for the type of material you're working with, whether it's wood, metal, or plastic. You'll also need some screws or bolts to secure the mounting brackets. A screwdriver or a wrench will come in handy for tightening these up.
Now, let's get into the actual installation process. The first step is to choose the right location for your auto retractable straps. You want to pick a spot that's sturdy and can support the weight of the items you'll be securing. If you're installing the straps in a vehicle, look for areas on the floor or walls that are reinforced. In a storage shed or garage, you can mount them to a stud or a heavy-duty shelf.


Once you've decided on the location, mark the spots where you'll be drilling the holes for the mounting brackets. Use a measuring tape to make sure the brackets are evenly spaced and level. This will ensure that the straps work properly and don't get tangled.
Next, use your drill to make the holes for the mounting brackets. Be careful not to drill too deep or too close to the edge of the material, as this could weaken it. After you've drilled the holes, insert the screws or bolts through the brackets and into the holes. Tighten them up securely using your screwdriver or wrench.
Now it's time to attach the auto retractable straps to the mounting brackets. Most straps come with a simple hook or latch system that makes this part easy. Just line up the strap with the bracket and snap it into place. Make sure it's firmly attached and doesn't wobble.
After the straps are attached to the mounting brackets, you can start testing them out. Pull the strap out to its full length and then let it retract back into the housing. It should do this smoothly without any resistance. If you notice any issues, like the strap getting stuck or not retracting all the way, double-check the installation to make sure everything is properly aligned.
One important thing to keep in mind when using auto retractable straps is to always follow the weight limits. Each strap has a maximum weight capacity, and exceeding this can be dangerous. Make sure you know the weight of the items you're securing and choose the appropriate straps for the job.
Another tip is to regularly inspect your straps for any signs of wear and tear. Check the webbing for fraying, the hooks for damage, and the housing for cracks. If you notice any problems, replace the strap immediately to avoid any accidents.
In conclusion, installing auto retractable straps is a relatively simple process that can make your life a whole lot easier when it comes to securing your belongings. By following these steps and using the right tools, you can have your straps up and running in no time.
If you're interested in purchasing auto retractable straps or have any questions about our products, feel free to reach out. We're here to help you find the perfect solution for your needs. Whether you're a professional hauler or just someone looking to organize their garage, we've got the right straps for you.
Thanks for reading, and happy securing!
References:
- General knowledge about auto retractable straps and installation processes.