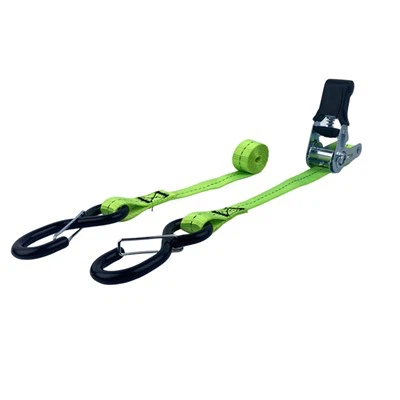
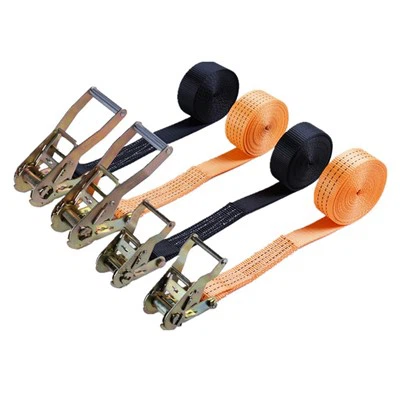
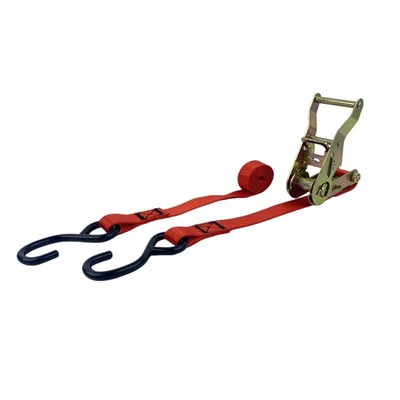
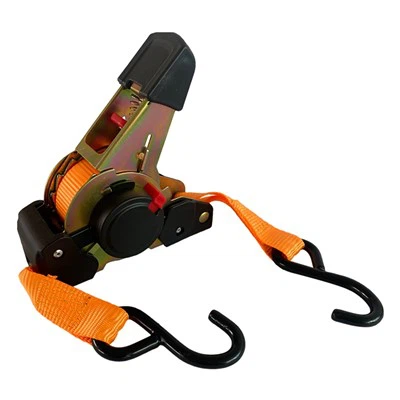
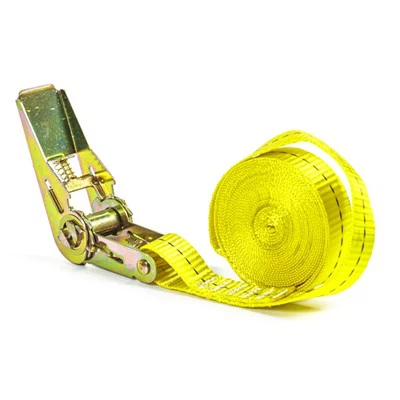
A heavy ratchet strap is an essential tool for securing heavy loads during transportation. However, like any other tool, it can break or become damaged over time. As a heavy ratchet straps supplier, I understand the importance of having a reliable and durable strap. In this blog post, I will share some tips on how to repair a broken heavy ratchet strap.
Assessing the Damage
The first step in repairing a broken heavy ratchet strap is to assess the damage. Look closely at the strap to determine the extent of the break. There are several common types of damage that can occur:
Tear in the Webbing
The webbing of the ratchet strap is the long, flat part that does the actual securing. If there is a small tear in the webbing, it may be possible to repair it. However, if the tear is large or close to a buckle or the ratchet mechanism, it may be safer to replace the entire strap.
Broken Buckles or Hooks
Buckles and hooks are crucial for attaching the ratchet strap to the load and the anchor points. If a buckle or hook is broken, it needs to be replaced. You can find replacement parts at most hardware stores or directly from the manufacturer. For high - quality replacement hooks, you can check out Heavy Duty Tie Down Hooks.
Malfunctioning Ratchet Mechanism
The ratchet mechanism is what allows you to tighten and loosen the strap. If it is not working properly, such as not locking or releasing correctly, it may need to be repaired or replaced.
Tools and Materials Needed
Before you start the repair process, gather the necessary tools and materials. Here is a list of what you may need:
- Replacement parts (webbing, buckles, hooks, ratchet mechanism)
- Heavy - duty sewing machine or strong thread and a large needle for sewing the webbing
- Scissors
- Measuring tape
- Pliers
- Screwdriver
Repairing the Webbing
If the damage is limited to the webbing, here's how you can repair it:
- Cut the Damaged Section: Use scissors to carefully cut out the damaged part of the webbing. Make sure to cut it straight and remove all the frayed edges.
- Measure and Cut New Webbing: Measure the length of the section you removed and cut a new piece of webbing from a spare roll. The new webbing should be made of the same material and have the same width as the original. For high - quality webbing, you can source it from reliable ratchet strap suppliers. Check out High Quality Ratchet Straps for more options.
- Attach the New Webbing: There are two common methods to attach the new webbing. If you have a heavy - duty sewing machine, you can sew the new webbing to the existing strap. Use a strong, durable thread and make several rows of stitches on each side of the joint. If you don't have a sewing machine, you can use a large needle and strong thread to hand - sew the webbing together. Make sure the stitches are tight and evenly spaced.
Replacing Buckles and Hooks
- Remove the Old Buckle or Hook: Use pliers and a screwdriver to remove the old buckle or hook from the strap. Unscrew any bolts or nuts that hold it in place.
- Install the New Buckle or Hook: Align the new buckle or hook with the holes in the webbing and secure it using the appropriate bolts or nuts. Make sure it is tightened properly to prevent it from coming loose during use.
Fixing the Ratchet Mechanism
- Disassemble the Ratchet: Use a screwdriver to open the ratchet mechanism. Be careful as there may be small parts inside that can easily be lost.
- Clean and Inspect: Clean all the parts of the ratchet mechanism with a clean cloth to remove any dirt, debris, or rust. Inspect each part for damage. If a part is broken, replace it with a new one.
- Reassemble the Ratchet: Once all the parts are clean and in good condition, reassemble the ratchet mechanism. Make sure all the parts are properly aligned and that the pawl and ratchet wheel work smoothly.
Testing the Repaired Strap
After completing the repair, it is essential to test the strap. Here's how:
- Attach the Strap: Secure the strap to a heavy, stable object.
- Tighten the Strap: Use the ratchet mechanism to tighten the strap. Make sure it locks securely and does not loosen on its own.
- Release the Strap: Try to release the strap using the ratchet. It should release smoothly without any resistance.
When to Replace the Entire Strap
In some cases, it may be more practical to replace the entire heavy ratchet strap instead of repairing it. Here are some situations when replacement is recommended:
- The webbing has multiple large tears or is severely worn out.
- The ratchet mechanism is beyond repair.
- The strap has been in use for a long time and shows signs of general wear and tear that may compromise its strength and safety.
If you are in the market for new heavy ratchet straps, we offer a wide range of High Quality Ratchet Straps that are durable and reliable. We also have Tractor Tie Down Straps for specific applications.


Conclusion
Repairing a broken heavy ratchet strap can save you money and ensure that you have a reliable tool for securing your loads. By following the steps outlined in this blog post, you can effectively repair most common types of damage. However, always prioritize safety. If you are unsure about the repair process or the integrity of the repaired strap, it is best to consult a professional or replace the strap.
If you have any questions about ratchet strap repair or if you are interested in purchasing high - quality ratchet straps, feel free to contact us for more information and to start a procurement discussion. We are here to help you find the best solutions for your load - securing needs.
References
- "The Handbook of Strapping and Packaging Materials"
- Manufacturer's instructions for heavy ratchet straps